

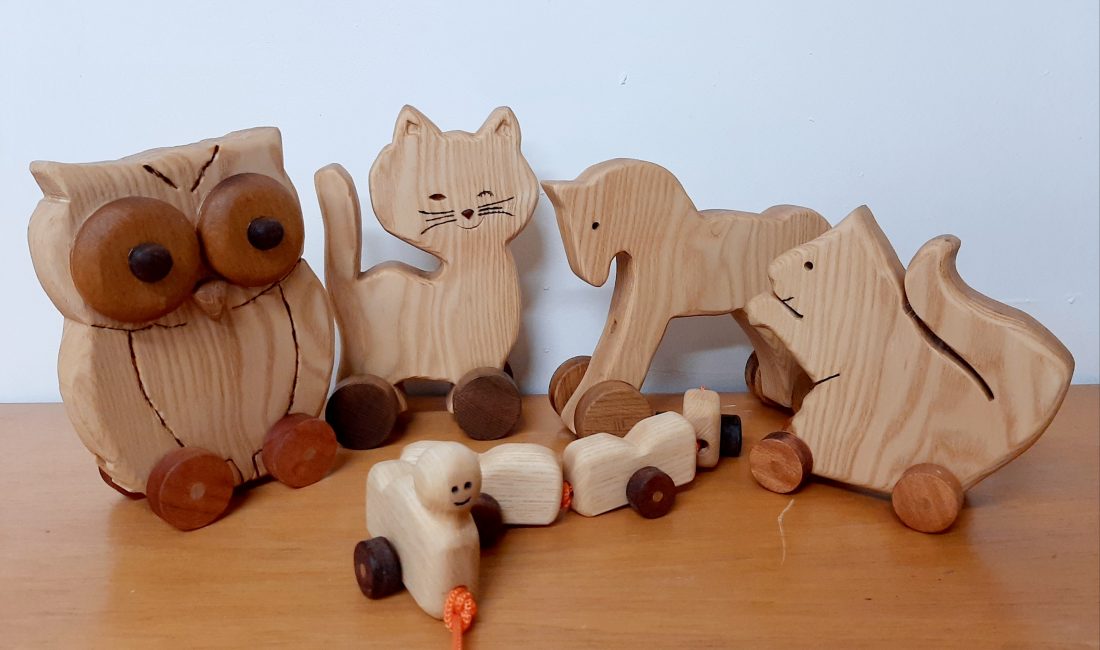
Wooden animals
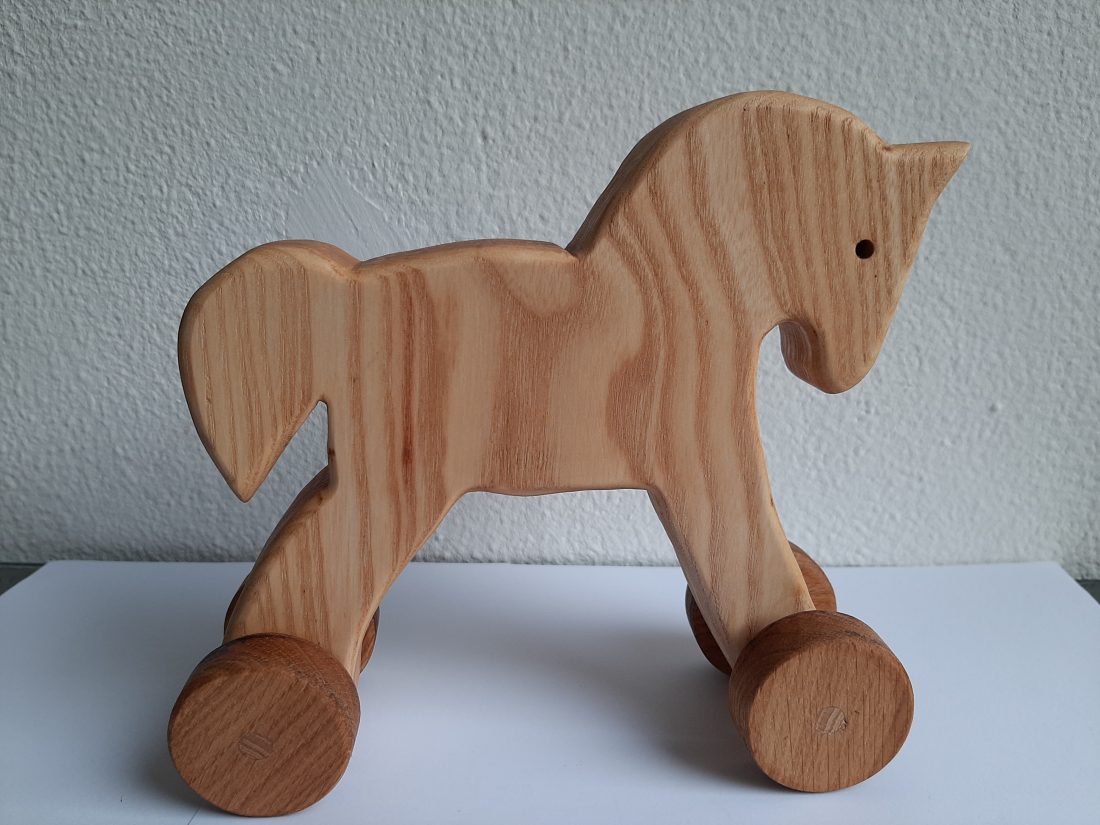
It all started with the request made by a loyal animal-loving client, which led me to investigate what she was asking me to make: Wooden animals for children.
She started by asking me for a horse, then I started looking at how to make other wooden animals and now I have found myself creating a whole range of animals.
I will now show and explain to you how I do it:
– I look for the animal, either on the internet or elsewhere and modify it to give it my personal touch. Alternatively, I might base my design on my client´s drawing or photograph.
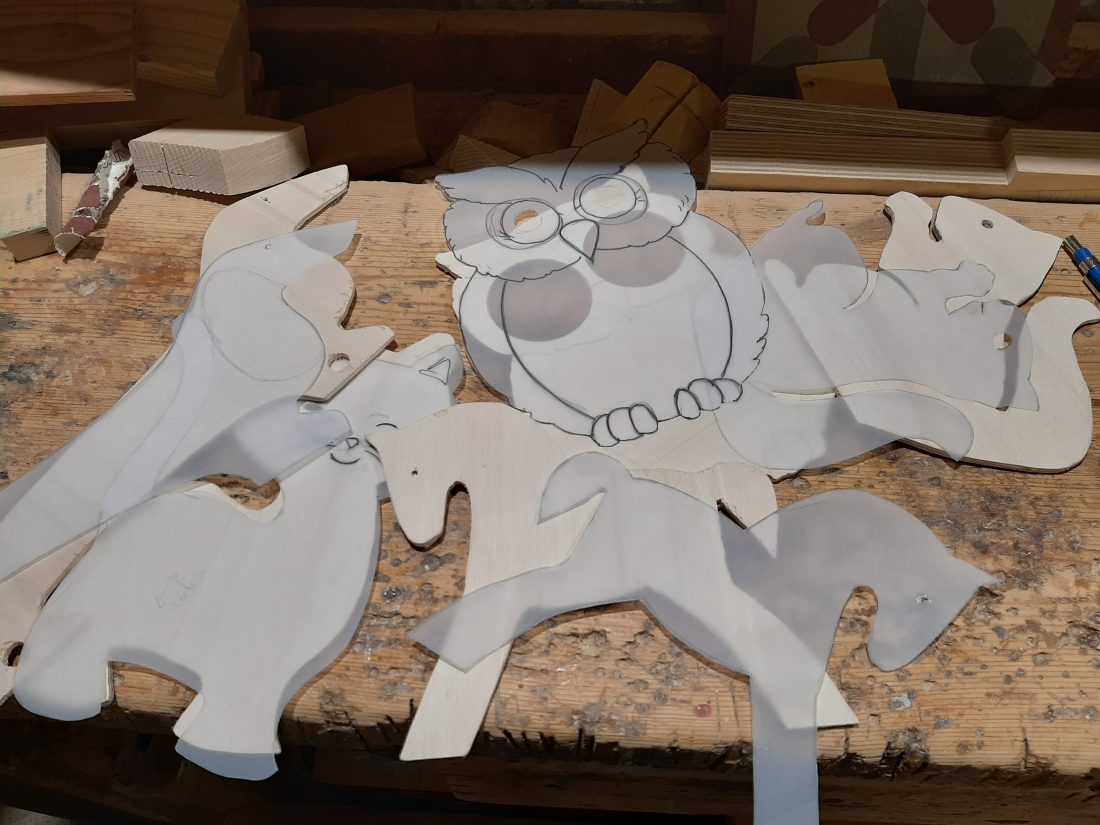
– I copy the drawing on a very thin piece of plywood to make the template.
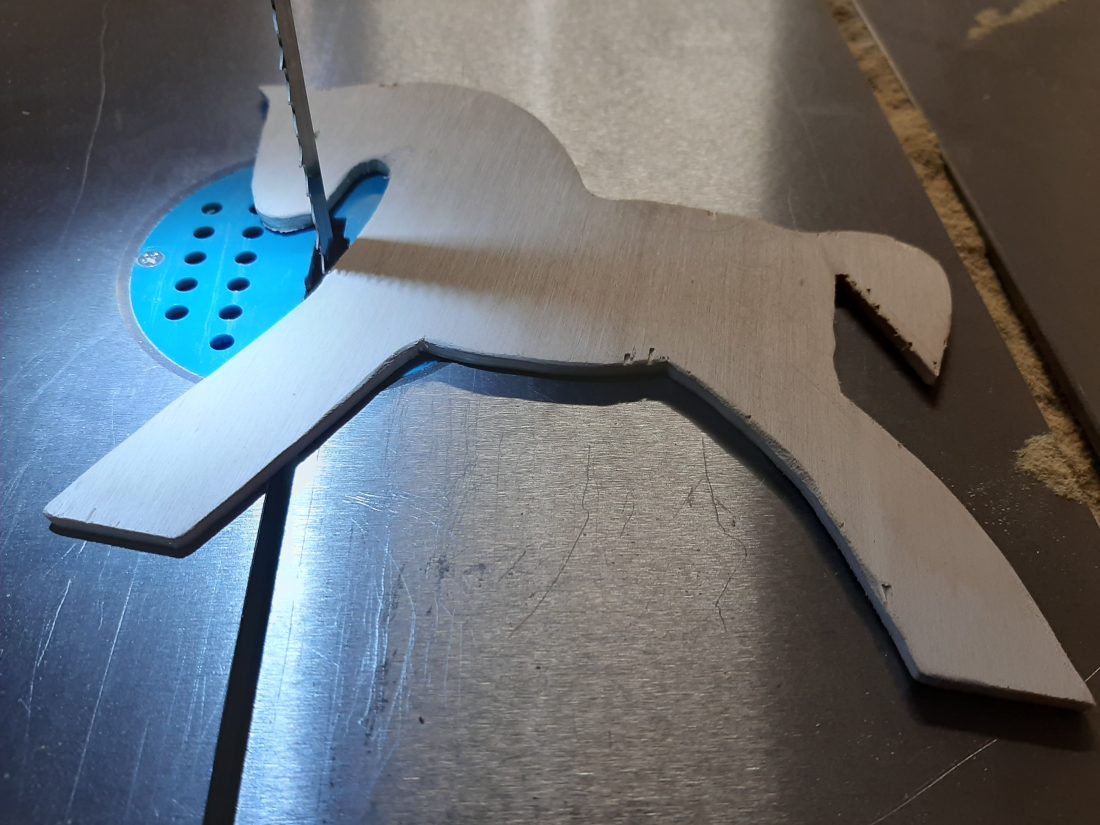
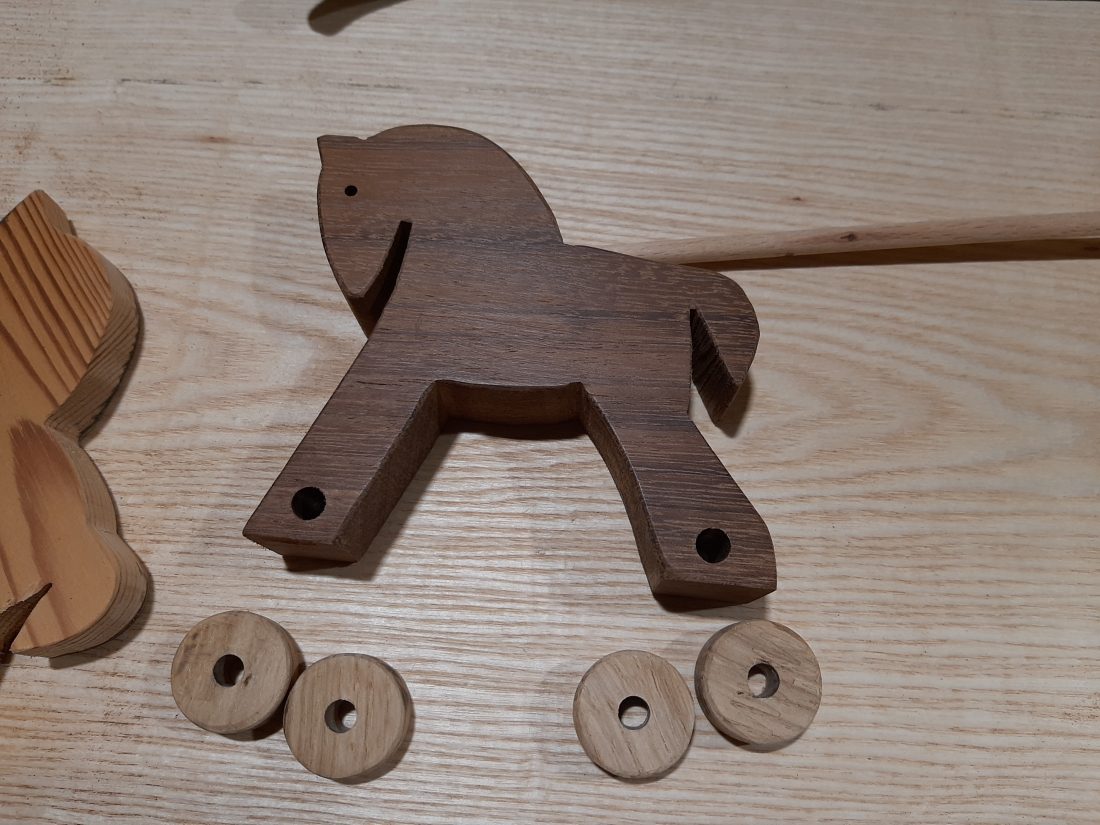
– I transfer it onto the piece of solid wood and cut it with the band saw.
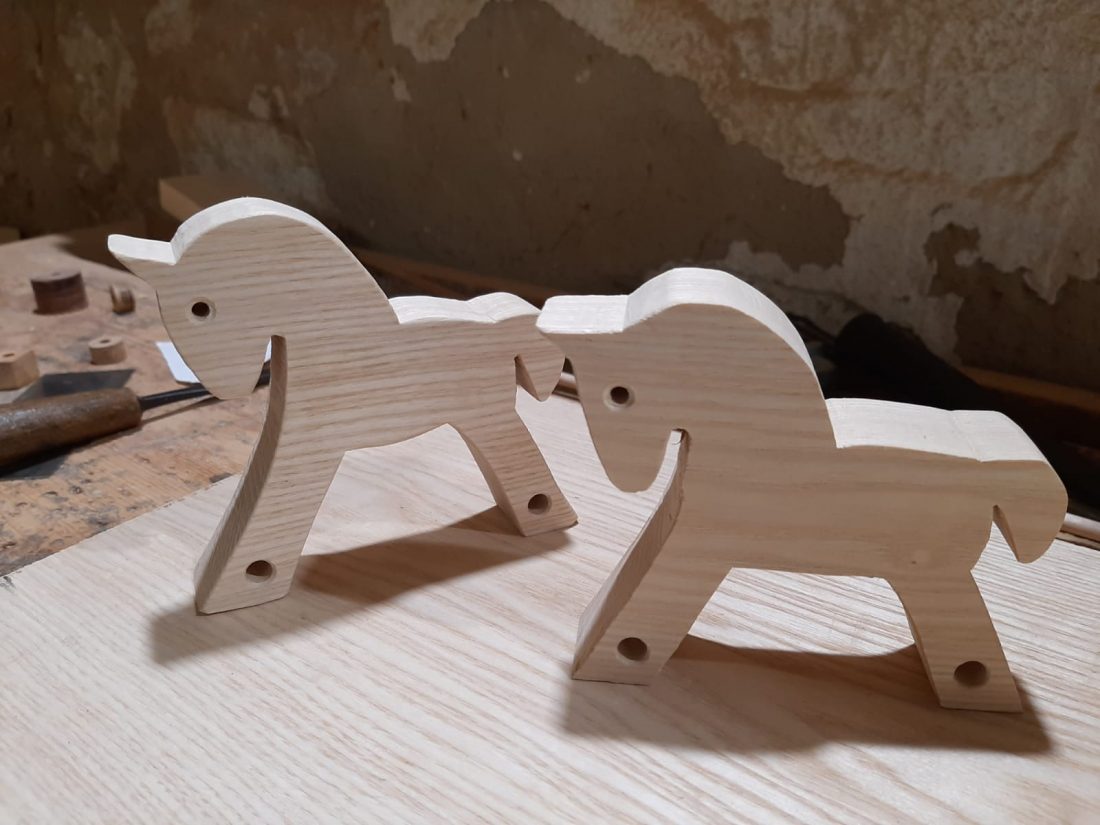
– I mill all the edges to round them where possible. Where the milling machine does not reach, I do it by hand.
– l polish all the edges well to remove marks from the band saw if necessary. Depending on the animal, some marks may be fine.
– I make the wheels with the drill, using a door knob drill, which is meticulous and time-consuming work.
– I apply two coats of an organic waxed oil, LIVOS, to protect the wood and give it a smooth finish.
– I attach a rope so it can be pulled along.
– If necessary the eyes, mouth, nose, etc. I do it with the pyrograph.
And it is practically finished.
This is the process, but it can vary depending on the creature I am making.